Pages

Showing posts with label Recipes. Show all posts

Monday, January 12, 2026

Easy 3-Ingredient Tomato Dumplings


I saw this recipe on Pinterest about a year ago but haven't gotten around to making it but it is so easy and it is chilly so I thought today would be a good day.

Tomato Dumplings

Ingredients:

1 can tomato soup
1 can petite diced tomatoes
1 can (5 count) biscuits

Directions:

Put soup and diced tomatoes in pot and bring to a boil. Cut each biscuit into quarters and add to the tomato mixture.  Cook about 15-20 minutes until biscuits are done.  You can top with shredded cheese and sour cream.

Easy to fix, quick to eat and good!

Note: I've seen variations of this that said to separate the biscuits (after cutting), add a piece of your favorite cheese and close the biscuit around it for cheesy dumplings, but I didn't want to take all that time to try that variety and to me, they were good without that step.

Tuesday, January 6, 2026

BBQ Chili Pasta

I've made this quite a few times but I haven't made it in a while.  I was thinking about this the other day and thought it would be good to make it because the leftovers are as good, or better than the first night.


 BBQ Chili Pasta

1 (8 ounce) package rotini pasta (I used wagon wheel pasta)
1 Tbsp olive oil
1
onion, chopped
1 lb. ground turkey (or you can use beef if you'd like)
1 (15 oz) can whole kernal corn (drained)
1 Tbsp chili powder
1 Tbsp cumin
1 Tbsp dried oregano
1/2 tsp salt
1 (8 oz) can tomato sauce
3/4 cup barbeque sauce  

In a large pot with boiling salted water cook pasta until al dente. Drain.

Meanwhile, in a large non-stick skillet heat oil over medium-high heat, add onion and cook until onion for 2 minutes, or until softened. Add ground turkey and cook until no pink remains, about 3 to 4 minutes. Stir in chopped green bell pepper, corn, chili powder, dried oregano, salt, tomato sauce, and BBQ sauce. Bring mixture to a boil. Reduce heat to medium and simmer until slightly thickened, about 3 to 4 minutes, stirring occasionally.

Combine the turkey mixture with the pasta. Serve immediately. 

Notes:
I don't know why, but I just like this with wagon wheel pasta....if you can find it.  Have you ever looked for it? It's really hard to find.  I have recently located a brand called "DiVinci" but the wagon wheels are rather large and I like smaller ones, that keep their shape a lot better.  I found this box, but I don't recall where and I will probably never find it again.

You can also top with shredded cheese and sour cream if you'd like. 


Thursday, November 6, 2025

Pasta e Fagiloi


I admit that I've been ignoring my blog a bit this year....I've had some health issues and ended up in the hospital and so has my sister and that also ended in a hospital stay.  Thankfully, we are both doing better.

Anyway...I thought I would share a recipe that is perfect for the cooler temperature.


Pasta e Fagiloi

  • 1 lb lean ground beef or ground turkey (I actually prefer ground turkey)
  • 1 yellow onion, finely chopped (I just used onion powder)
  • 2 medium carrots, diced
  • 3 ribs celery, diced
  • 3 cloves garlic, minced
  • 3 (8 oz) cans tomato sauce
  • 2 (14.5 oz) cans beef broth
  • 1 (14.5 oz) can petite diced tomatoes
  • 2 teaspoons granulated sugar
  • 1 teaspoon dried basil
  • 1 teaspoon dried oregano
  • 1 teaspoon dried thyme 
  • 8 oz dry Ditalini pasta
  • 1 (15 oz) can dark red kidney beans, drained and rinsed
  • 1 (15 oz) can cannellini beans, drained and rinsed
  • Parmesan cheese, freshly grated, for serving
  • Kosher salt and freshly ground black pepper, to taste

 Brown ground beef in a large pot over medium-high heat.

When beef is almost cooked through, add onions, carrots, and celery and cook until tender, stirring occasionally, about 6 minutes. Add garlic and cook 1 minute more.

Add tomato sauce, beef broth, 1/2 cup water, canned tomatoes, sugar, oregano, basil and thyme. Bring to a boil, cover, and reduce heat to medium-low.

Let simmer 5 minutes, stir in Ditalini pasta, and continue cooking until vegetables are soft and pasta is al dente, about 10 minutes more.

Add beans, season to taste with salt and pepper, and thin with more water, if desired.

Serve with Parmesan cheese and enjoy!


Sunday, November 10, 2024

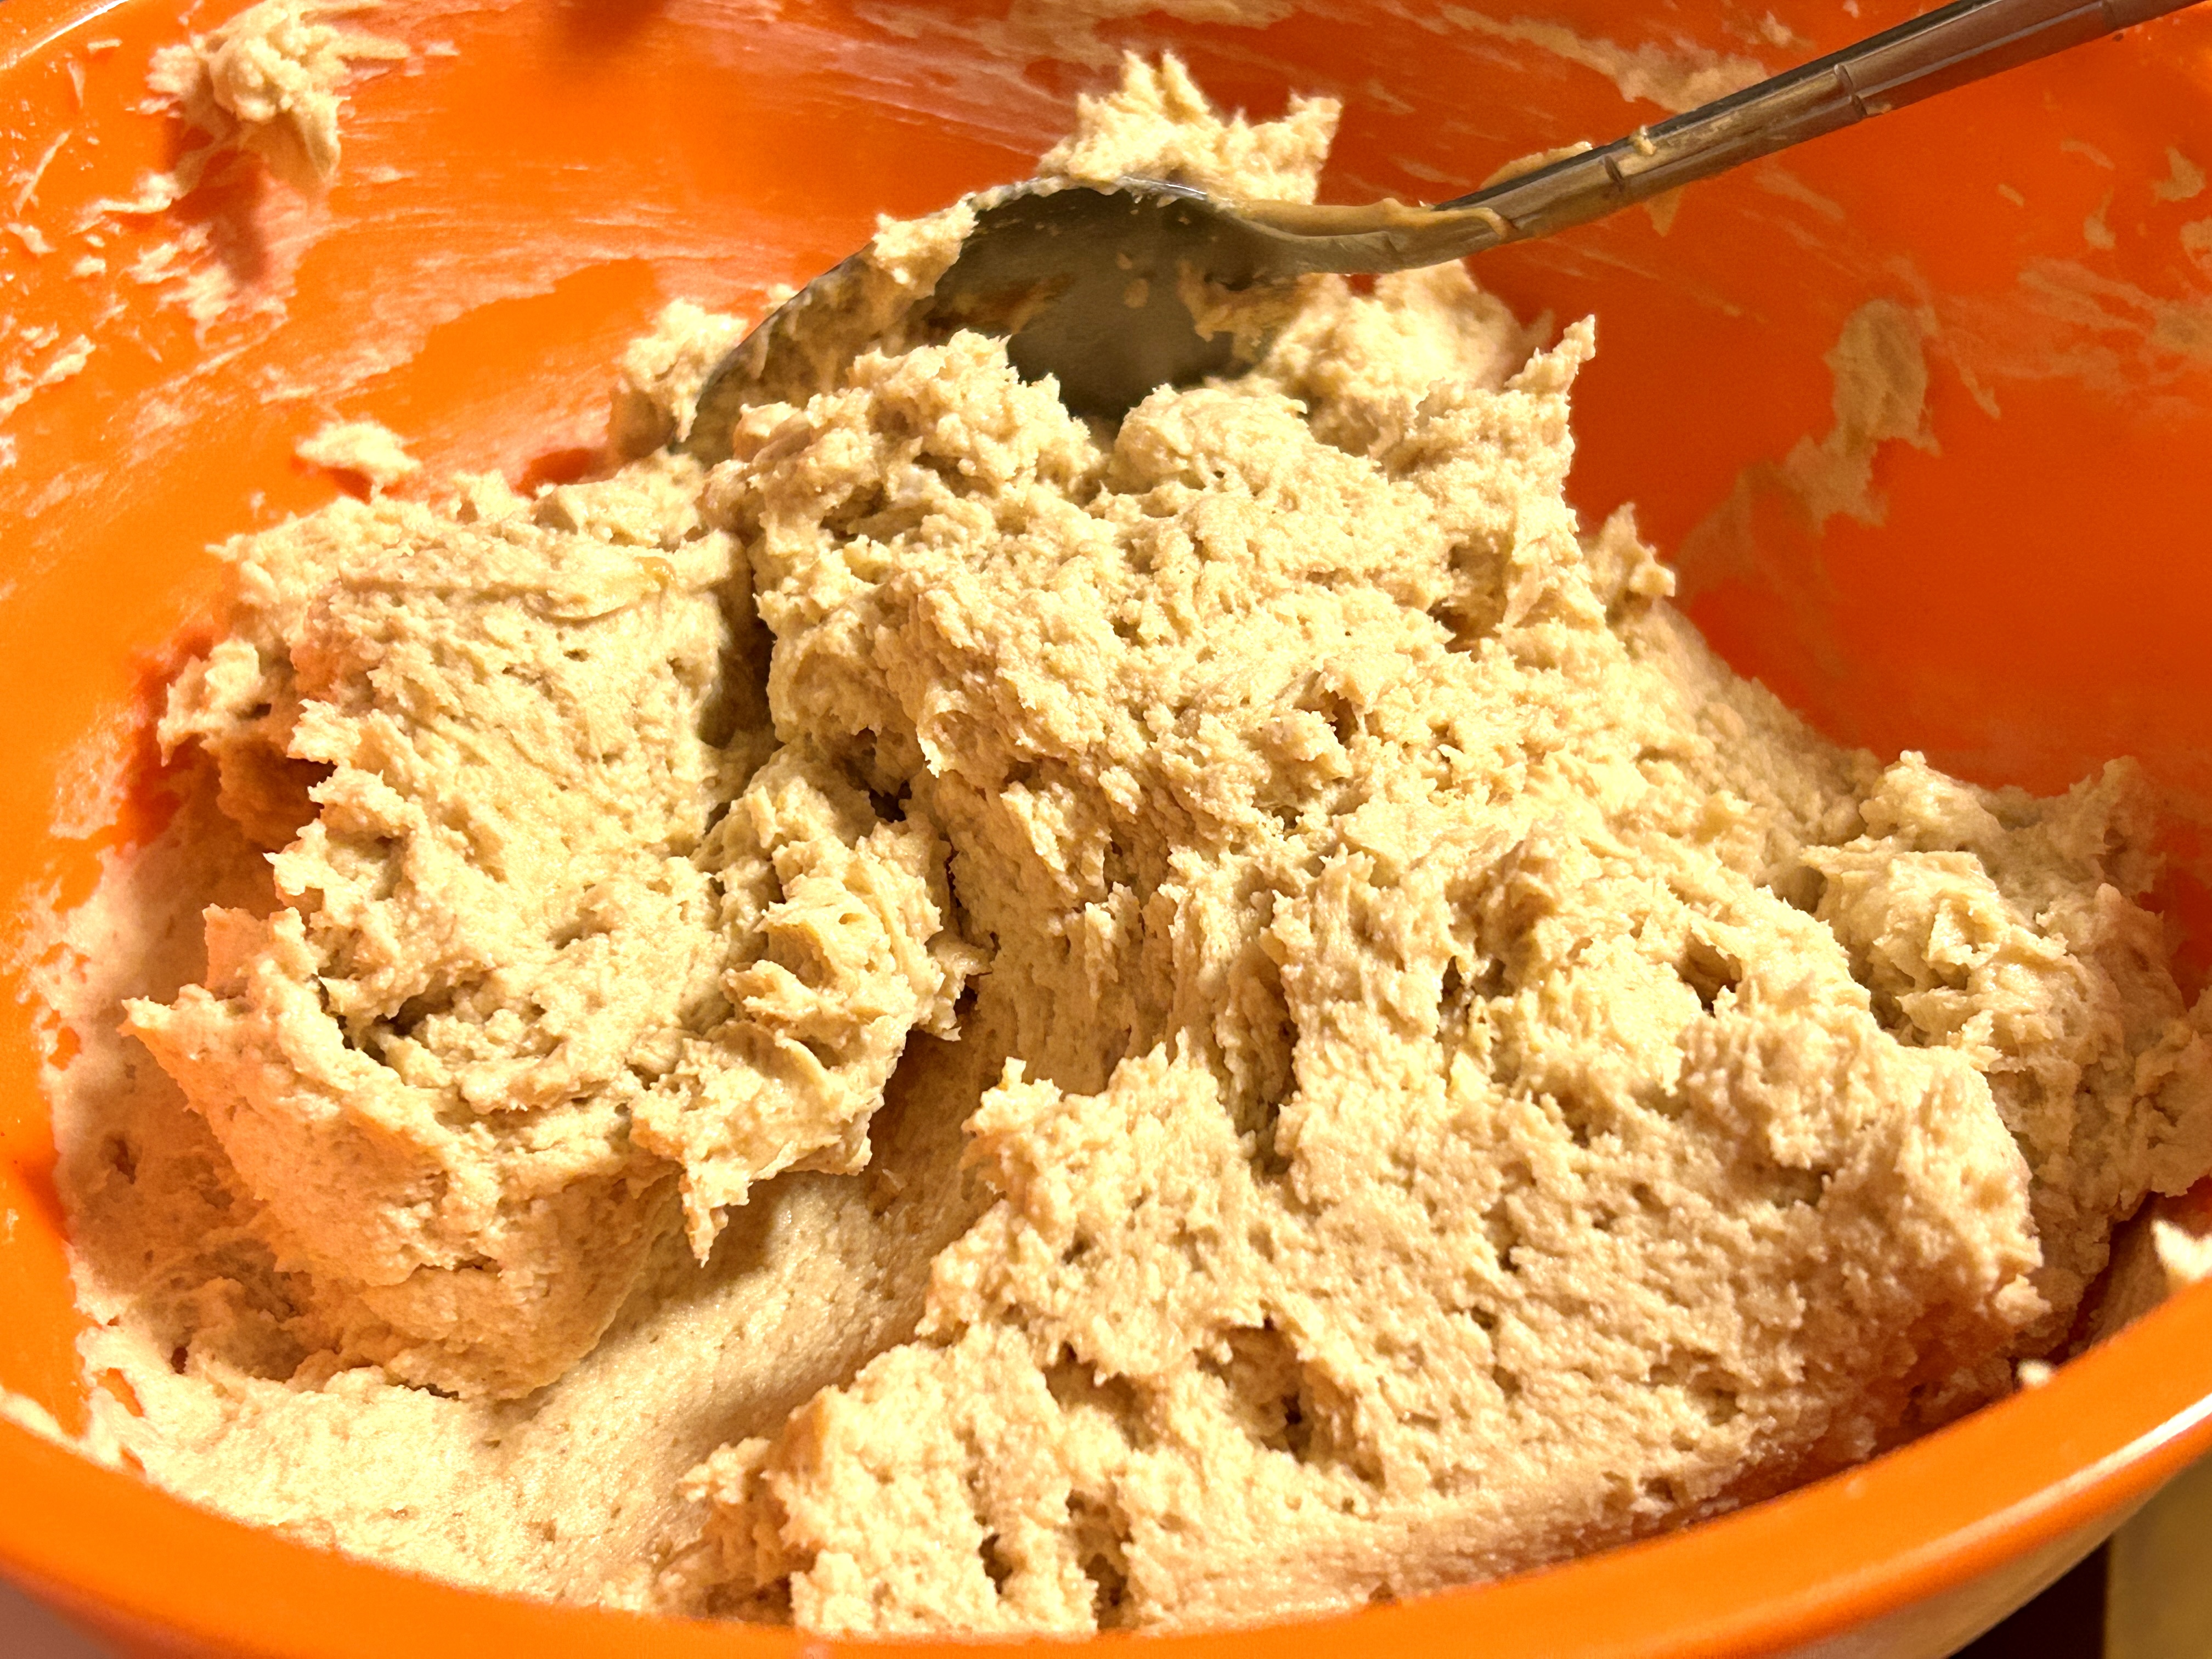
No Bake Peanut Butter Cheesecake


I'm the first to admit that when it comes to sweet treats, I am not usually a big fan of no-bake items.  I just like my baked goods, well...baked.  

But my sister requested this No Bake Peanut Butter Cheesecake for her birthday, and it looked good and was simple enough and I certainly wanted to fulfill her wishes.  Plus, I mean, I totally love peanut butter!!

It's made in 3 parts, the crust, the filling and the topping:


No Bake Peanut Butter Cheesecake

For the Crust:

2 cups graham cracker crumbs
1/2 cup melted butter
1/4 cup granulated sugar


For the Filling:

2 cups heavy cream
16 oz cream cheese, softened
1 cup creamy peanut butter
1 cup powdered sugar
1 tsp vanilla extract
1 cup mini chocolate chips
1 cup Reese's Pieces candy


For the Topping:

1 cup heavy cream, whipped
1/4 cup powdered sugar
1/2 cup mini chocolate chips
1/2 cup Reese's Pieces candy
1/2 cup assorted mini chocolate candies


Instructions:


Prepare the Crust:

In a medium bowl, combine the graham cracker crumbs, melted butter, and granulated sugar. Mix until well combined.
Press the mixture firmly into the bottom of a 9-inch springform pan.
Place the crust in the refrigerator to chill while you prepare the filling.


Prepare the Filling:

In a large mixing bowl, whip the heavy cream until stiff peaks form. Set aside.


In another large bowl, beat the cream cheese, peanut butter, powdered sugar, and vanilla extract until smooth and creamy.


Gently fold the whipped cream into the peanut butter mixture until well combined.


Fold in the mini chocolate chips and Reese's Pieces candy.


Pour the filling over the chilled crust and spread evenly.


Add the Topping:

In a medium bowl, whip the heavy cream with the powdered sugar until stiff peaks form.
Spread or pipe the whipped cream over the top of the cheesecake filling.


Sprinkle the mini chocolate chips, Reese's Pieces candy, and assorted mini chocolate candies on top.


Place the cheesecake in the refrigerator for at least 4 hours or overnight to set.
Remove the sides of the springform pan, slice and serve


Monday, September 2, 2024

Hot Diggity Dog


For your Labor Day eating pleasure.....


I was browsing Pinterest the other day and came up some "hot dog" recipes and thought...who needs a recipe for a hot dog?

I realized that most of them were more for different marinades, grilling and cooking methods and such.  One caught my eye and I decided to give it a try.

I have now discovered a new and favorite way to cook hot dogs!

FYI: For this "experiment", I used Nathan's Skinless hot dogs, because (a) they are delicious and (b) they were on sale for Labor Day weekend!

So, you will need

Hot Dogs
Water
Butter
Buns
Favorite Hot Dog Toppings

1) Place your hotdogs in a pan and fill with water until the water is 1/2 way up the hotdog.


2) Simmer hotdogs until all the water evaporates. Move the pan around a few times to roll the dogs so they cook evenly. You should see small boil bubbles around the hotdogs.


3) Once the water is about gone, drain off any remaining water and then add a little butter to the pan. Roll dogs around in the butter to coat.


4) Cook until the desired doneness.


5) Put in buns (best if you have steamed the buns ahead of time) and then top with your favorite toppings (PS: Don't fuss at me that ketchup doesn't belong on a hot dog because in my opinion no hot dog is complete without ketchup)


Monday, August 19, 2024

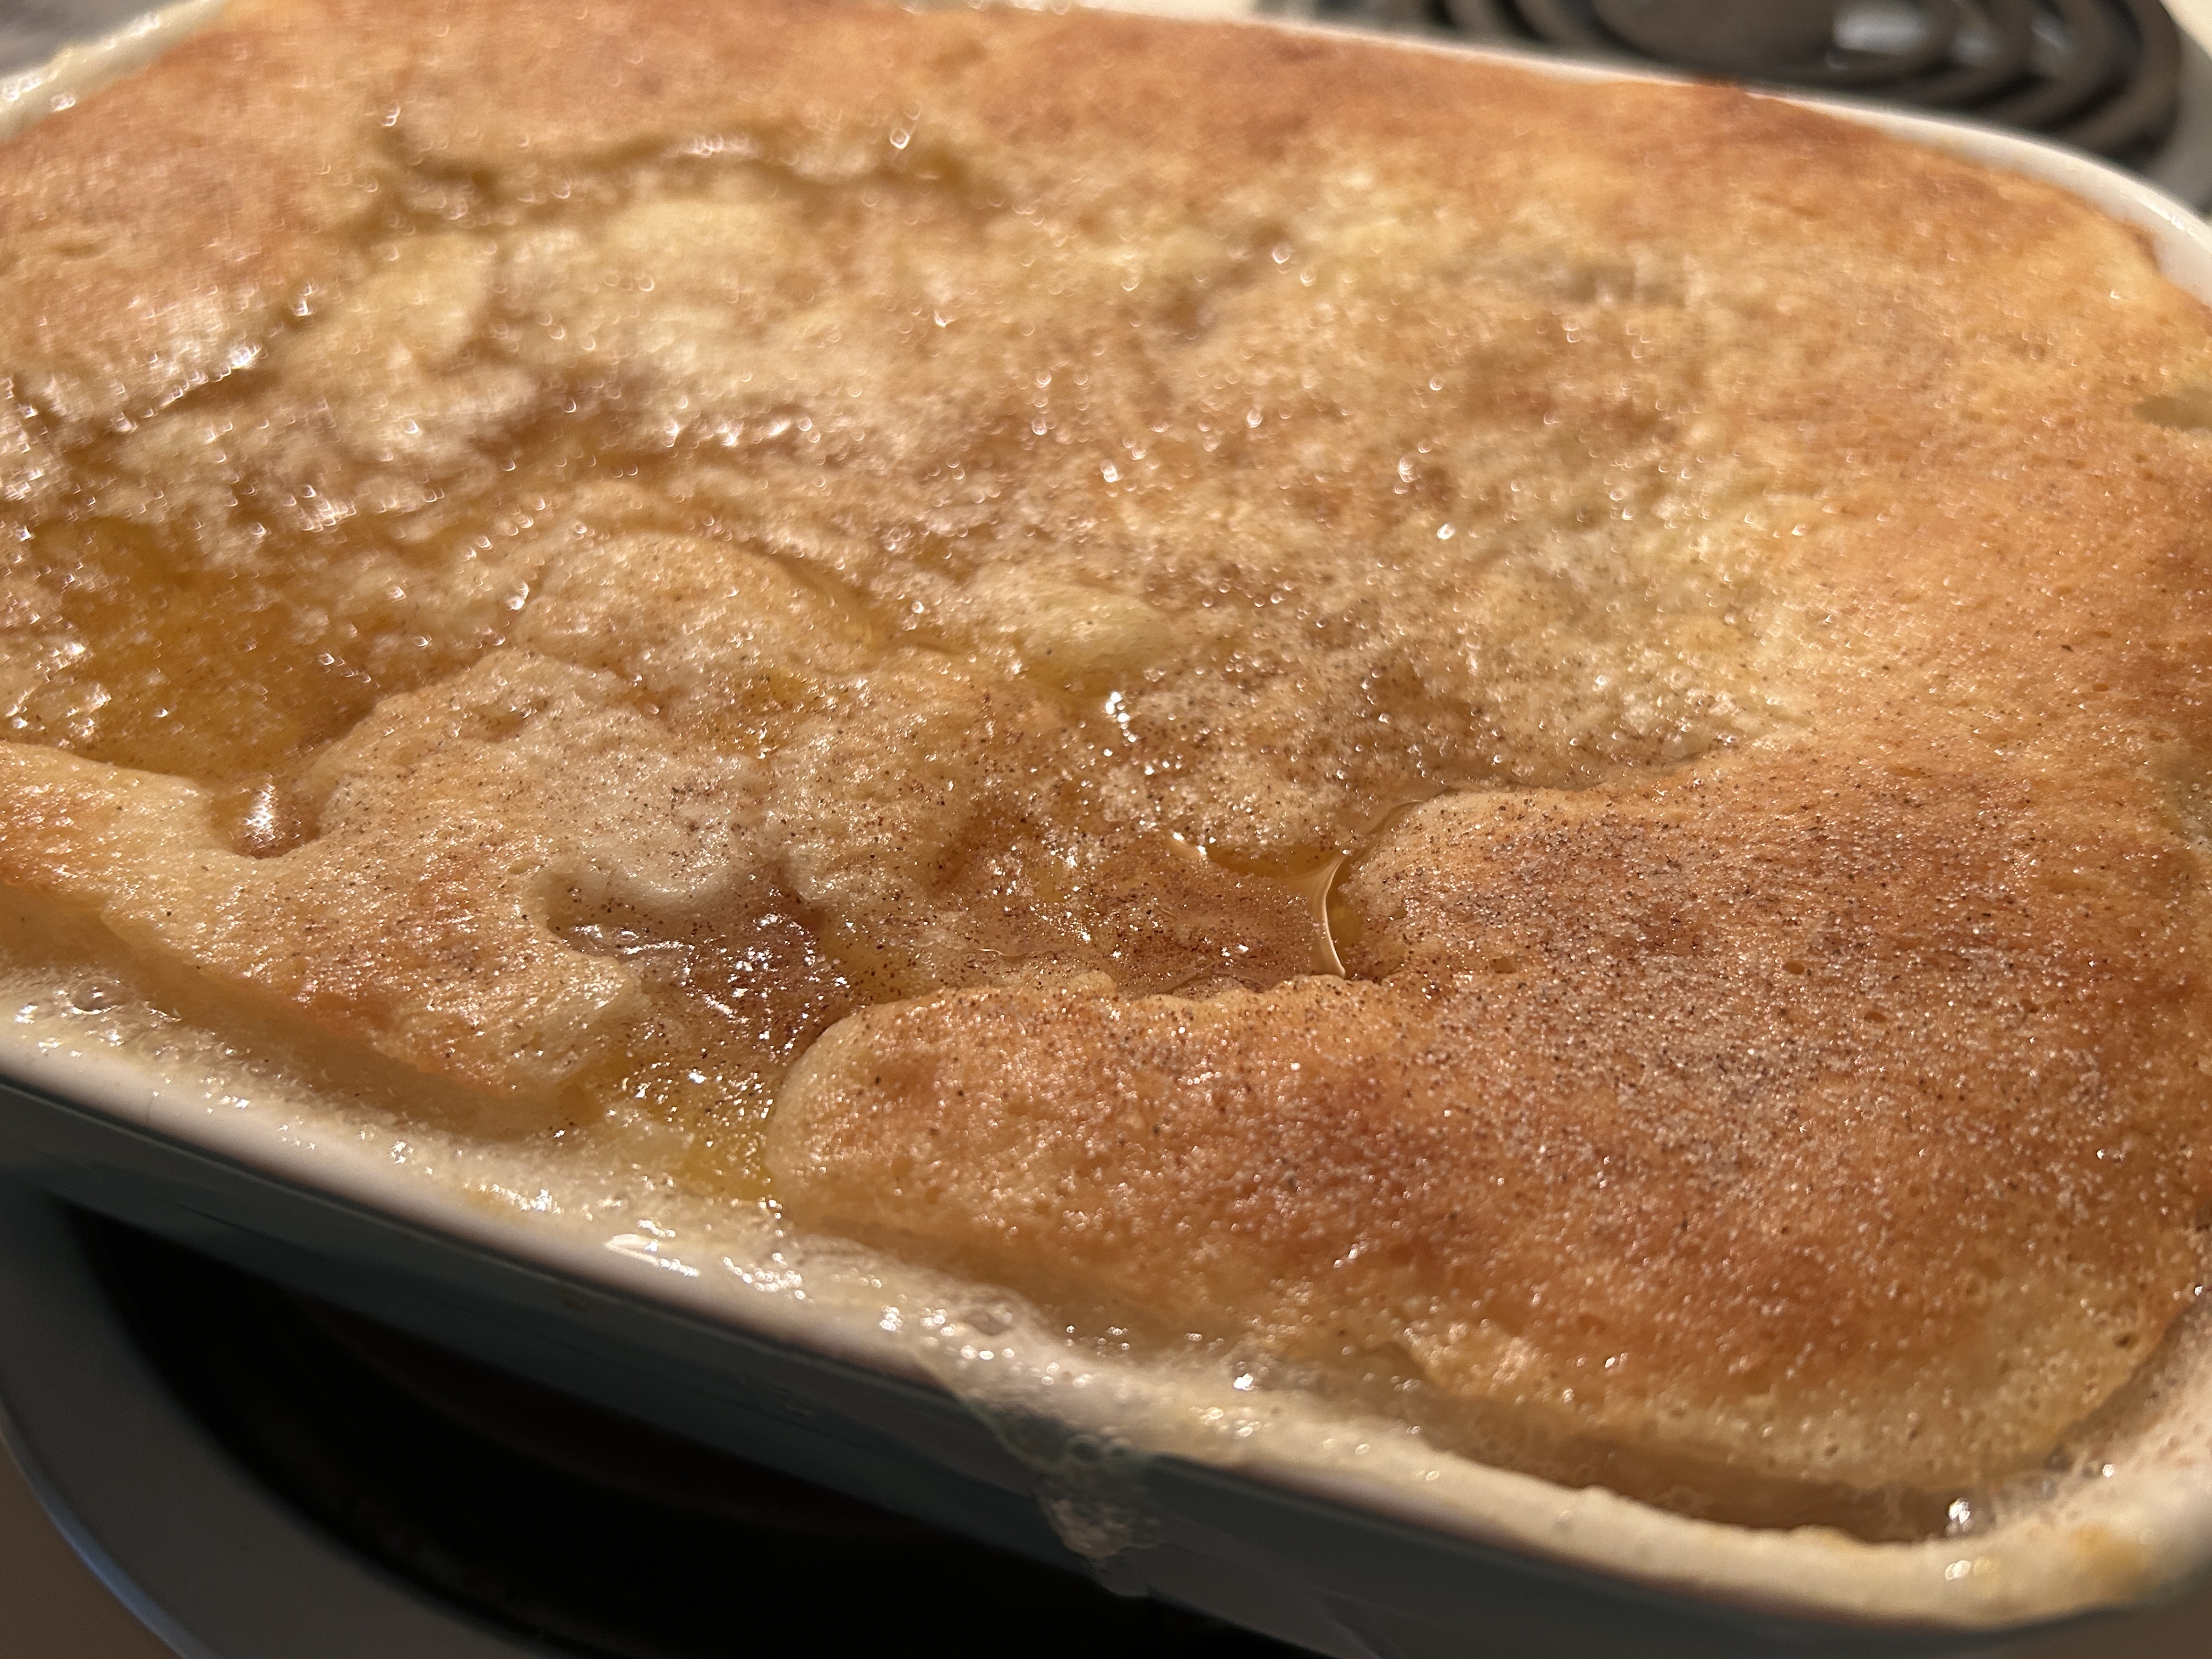
Paula Deen's Peach Cobbler - aka Cuppa Cuppa Cuppa Cobbler


This summer has been a PEACHY summer for me.  I don't know why, but I can't seem to get enough peaches. 

I decided I wanted a peach cobbler but I didn't want to bother with peeling and cutting fresh ones so I decided to use Paula Deen's recipe from her first Lady & Son's Cookbook.

Some people call this Cuppa Cuppa Cuppa Cobbler, because you use a cup of sugar, a cup of flour and a cup of milk, then add your fruit.  

I love this recipe because you just dump it all in a pan and don't have to even stir it.

You can click on the photo above for a bigger/readable version.


Basically, put your butter in a baking dish and put in a 350 F degree oven until the butter melts.


Mix together the sugar, flour and milk and pour on top of the melted butter (do not stir)


Pour the canned peaches over the top (do not stir)


I always put a baking sheet on the bottom oven shelf and then put the cobbler on an oven shelf about that.  The cobbler will most likely spill over a little and it will make clean up much easier!!

Bake for about 40 minutes, until golden brown.

So good!!


NOTE:  I've made this with different brands of peaches and also made it with pears.  I have found that I prefer the Dole brand of fruit over Del Monte, pictured here (but that is a personal preference).

NOTE 2: You can sprinkle with Cinnamon Sugar right after it comes out of the oven if you'd like, which I do.


Sunday, August 18, 2024

Taco Tortellini


As I've mentioned before, I like quick and easy recipes. Kennedy Chugg, on Instagram (and I believe Tik Tok, although I'm not on Tik Tok) often posts 5 Ingredient, 20 minutes, $10 dinners, perfect!

I came across this post on Instagram.  She didn't really give the recipe a name, but I call it Taco Tortellini because it's Tortellini with seasoned Taco meat.


Taco Tortellini

Ingredients:

1 pound ground beef (or ground turkey - I usually prefer turkey)
1 can Ro-Tel tomatoes (I prefer fire roasted or mild), but can also used diced tomatoes
1 package Taco Seasoning Mix 
Shredded Cheese (Cheddar or Mexican Blend)
1 family sized package of Tortellini (I used 3 cheese but can use any kind)

Directions:


Cook ground beef or ground turkey until brown and no longer pink. Drain fat (another reason I like turkey, there is hardly any fat to drain).


While meat is cooking, boil pasta until done (note: fresh pasta in the refrigerator section doesn't take long to cook, when it starts to float, its done). Drain pasta.


Add a can of undrained Ro*Tel tomatoes. If you'd like it a bit less spicy, substitute regular diced tomatoes. I like the extra kick that Ro*Tel adds to the flavor.  However, I do prefer the mild version or the fire-roasted version.  I don't like it TOO spicy.


Add the ground beef/rotel mixture to the cooked tortellini, add shredded cheese and stir.


You can top with extra cheese and some sour cream if desired.  Enjoy!!


Tuesday, August 13, 2024

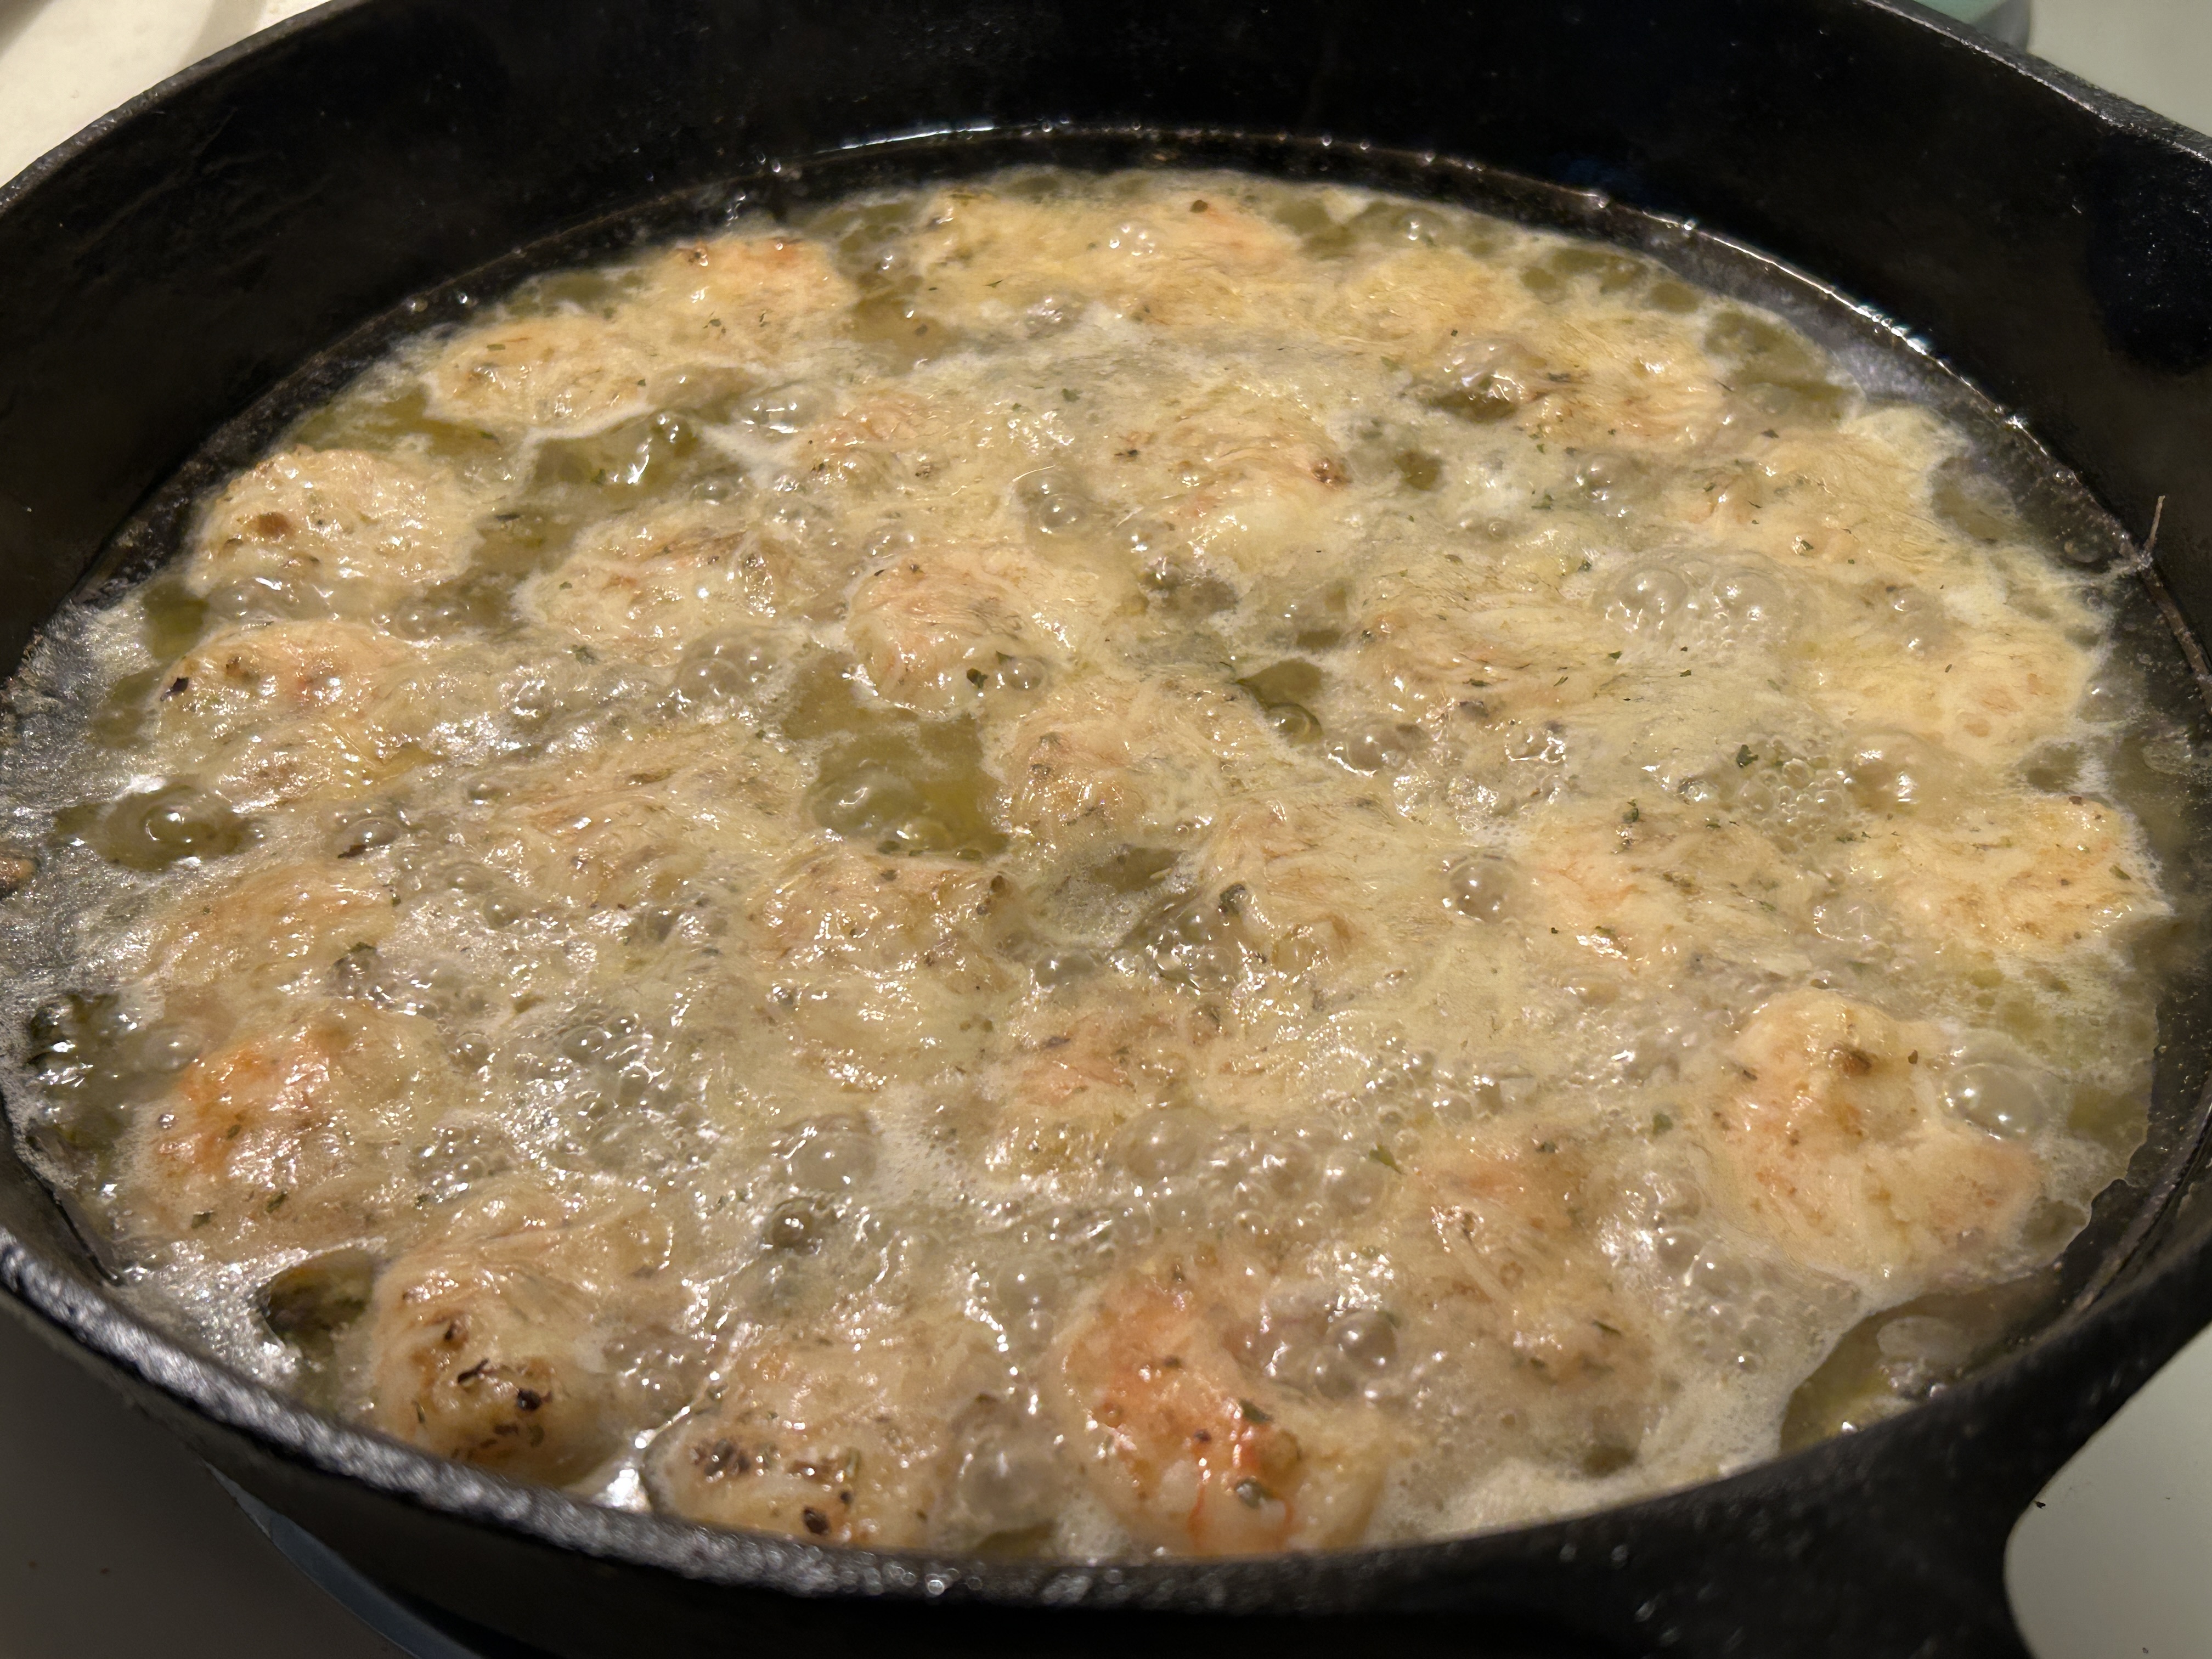
Easy Cast Iron Skillet Shrimp Scampi


I was browsing Pinterest one day and stumbled upon Cooker of Deliciousness - a website maintained by a guy out of Kentucky.  He posts quick, easy videos. I assume he is on Tik Tok and you can find him there but I don't use Tik Tok, so luckily he has a website where I can find all his quick and easy recipes.

While browsing through his website, I saw what seemed to be a quick and easy Shrimp Scampi, using a Cast Iron Skillet, so I decided to give it a try.

I'm all for recipes that use few ingredients and this was one of them. I revised the recipe a bit to better suit the items I had on hand and personal preferences.

I actually had DanOs Cheesoning on hand in my pantry.  I recall that I bought it for a different recipe but now, for the life of me, I can't remember what it was.


Easy Cast Iron Skillet Shrimp Scampi

Ingredients:

  • 2 lbs jumbo shrimp peeled, de-veined
  • DanO's Cheesoning
  • 2 tbsp olive oil
  • 1/4 cup chicken broth
  • 6 oz Land O' Lakes Garlic & Herb Butter
  • 1/2 cup grated Parmesan cheese

Directions

  • Pre-heat oven to 400 degrees F.
  • Wipe moisture off shrimp with paper towel and cut off tails
  • Place shrimp in bowl and season with DanO's Cheesoning and mix well


  • Place shrimp evenly in cast iron skillet
  • Drizzle olive oil over the top 


  • Pour chicken broth evenly over the top


  • Place dollops of butter evenly in the pan


  • Add grated Parmesan on top


  • Bake in the oven at 400 degrees F for about 15 minutes, until shrimp are pink and opaque


    I served it over Pasta-Roni (Olive Oil and Herb flavor), which I made according to package directions while the shrimp was in the oven.

    Let me tell you....this was SO GOOD.  It tasted as if it came from a restaurant.  It is definitely a keeper recipe.  Especially since dinner can be ready in less than 30 minutes. I think if you add a vegetable, such a steamed broccoli or a vegetable medley on the side, it would be a nice dish to serve when you have company.
     
    I heated the leftovers up in a saucepan the next day and it was just as good as the day I made it.