Tuesday, June 25, 2019
A Man Called Marco
One of my all time favorite instrumentals, featuring the AMAZING Marco Pirroni !!

Saturday, June 22, 2019
Replacing Pets?
I know someone (that used to go to my church) and I am still Facebook friends with her.
She has a thing for Great Danes. She had one that lived a pretty good long life (for a Great Dane), then about a week later, she had a new puppy (Maggie) to replace her. Also a Great Dane. She recently died and from what I can tell it was some kind of heart problem, she had surgery, while her owners were hiking through Europe (which they do about 2 or 3 times a year). So it seems they were not even home when their dog died.
She was only about 4 years old. They got back from Europe and a couple of days later, they now have a new Great Dane pup (Molly).
I am not saying that people shouldn't get a new pet after they lose one, in fact, I think it is great to give an animal a good home but I just don't understand how someone can move on so quickly.
I guess to people like that, a dog is a dog and not family. I still tear up when I think about Thatcher and even after 14 years, I am STILL not ready for another dog. I miss him so much and barely an hour passes when I don't think of him.
How you you just replace a pet the next day after losing one? It is something I just don't understand.
She has a thing for Great Danes. She had one that lived a pretty good long life (for a Great Dane), then about a week later, she had a new puppy (Maggie) to replace her. Also a Great Dane. She recently died and from what I can tell it was some kind of heart problem, she had surgery, while her owners were hiking through Europe (which they do about 2 or 3 times a year). So it seems they were not even home when their dog died.
She was only about 4 years old. They got back from Europe and a couple of days later, they now have a new Great Dane pup (Molly).
I am not saying that people shouldn't get a new pet after they lose one, in fact, I think it is great to give an animal a good home but I just don't understand how someone can move on so quickly.
I guess to people like that, a dog is a dog and not family. I still tear up when I think about Thatcher and even after 14 years, I am STILL not ready for another dog. I miss him so much and barely an hour passes when I don't think of him.
How you you just replace a pet the next day after losing one? It is something I just don't understand.
Saturday, June 1, 2019
Pretty Pastels Dishcloth with Instructions
I saw this pattern and decided I wanted to make it for the annual dishcloth swap.
I usually knit the dishcloths for the swap because I like knit cloths better but...in last year's swap, I received some crocheted cloths and I really liked them - they have a bit more scrubbing power and are strong and durable to I decided that I would do crochet cloths this year.
I saw this pattern called Pretty Pastels Dishcloth and decided to make it. I bought the book on eBay for $2 and was almost ready to go except I know the pattern contained an error (as noted on Ravelry).
However, I searched all over to find it and even sent messages to a couple of others who had made it and no one had the errata (what they call errors in the knitting/crochet world) information.
So I just decided to follow the pattern as written and see if I could figure it out myself. Well...I found the errors - there were more than one and thought I would share it in case others wanted to crochet it too. I hope this will help.
I found out AFTER I bought the book, that the pattern is now free and can be found HERE. The pattern in the book is slightly different than the free pattern but I think the free pattern is a little clearer and since it is free, I am referencing it here instead of the version in the book.
Section 1: Work just as stated in the pattern
Ch 3.
Row 1: (right side) Sc in 2nd ch from hook, sc in last ch, turn.
Row 2: Ch 1, working in back loops only, sc in first sc, 2 sc in next sc, turn. (3 sc)
Row 3: Ch 1, working through back loops only, 2 sc in first sc, sc in each sc to end, turn.
Row 4: Ch 1, working through back loops only, sc in each sc to last sc, 2 sc in last sc, turn.
Rows 5-18: Repeat Rows 3 and 4 seven times
Row 19: Repeat Row 3. (20 sc), Do Not break yarn, turn.
My Notes: At the end of section 1 - it should look like this. The book says turn 90 degrees and work on straight edge - well as you can see, there are 2 straight edges - it doesn't say to turn 90 degrees clockwise or counter clockwise so how do you know? You don't but the using the photo below, I indicated the direction on how you should continue to Section 2.

Section 2: Work just as stated in the pattern
Row 1: (right side) Ch 1, working along straight edge at right angles to last row, work 20 sc evenly across, turn.
Row 2: Ch 1, sc2tog over first 2 sts, working through back loops only, sc in each sc to end, turn.
Row 3: Ch 1, working through back loops only, sc in each sc to last 2 sc, sc2tog, turn.
Rows 4-19: Repeat Rows 2 and 3 eight times
Row 20: Ch 1, sc2tog, Do Not break yarn,do not turn
My Notes: At the end of section 2 - it should look like the photo below. The pattern says do not turn but you HAVE to turn to continue. Again, the books says turn 90 degrees but you don't know if you should work down the straight side or the slanted side, Logically it seems you should work down the straight side, as before. I indicated the direction on how you should continue to Section 3.

Section 3: Here is where the errors start - Row 1 is okay as written
Third Section:Work as given for Second Section. Don't do this! If you do, your decreases will be on the wrong side and your dishcloth will suddenly look all wonky. Instead....
Row 1: (right side) Ch 1, working along straight edge at right angles to last row, work 20 sc evenly across, turn.
Row 2: Ch 1, working through back loops only, sc in each sc to last 2 stitches, then sc2tog over last 2 sts, ch 1 turn.
Row 3: Working through back loops only, sc in each sc to last 2 sc, ch 1, turn.
Rows 4-19: Repeat Rows 2 and 3 eight times.
Row 20: Ch 1, sc2tog, Do Not break yarn,
My Notes: To ensure the decreases are in the properly place, you decrease at the end (not the beginning of row 2 - so don't just repeat Section 2 as the pattern states, it is wrong. Your cloth should now look like the photo below. I indicated the direction on how you should continue to Section 4.

Section 4: This section doesn't have an error per se, but it isn't clear as written.
Third Section:Work as given for Second Section.
Don't do this! If you do, your decreases will be on the wrong side and
your dishcloth will suddenly look all wonky. Instead....
Row 1: (right side) Ch 1, working along straight edge at right angles to last row, work 20 sc evenly across, sc in last sc of Row 19 of First Section, sc in next st of Row 19
Row 2: Ch 1, working through back loops only, sc in each sc to last 2 sc, sc2tog, turn.
Row 3: Ch 1, sc2tog over first 2 sc, working through back loops only, sc in each sc to end, sc in each of next 2 sc of Row 19 of First Section, turn.
Rows 4-19: Repeat Rows 2 and 3 eight times, Do Not break yarn, Do not turn.
My Notes: The part that I think is confusing in the book is that it implies you continue to work in the first 2 stitches of row 19 of Section 1, The free pattern is a little clearer in that what you are doing is actually moving up the rows on section 1 and joining section 4 to section 1 as you go - you just keep moving up. When you are done with Section 4, your dishcloth should look like the photo below. Now continue to the border (if desired).

Border: This section doesn't have an error, work as written.
Rnd 2: Ch 1, *3 sc in next sc, sl st in next sc; rep from * around, join with sl st in first sc.
Fasten off.Weave in all ends.
My Notes: I recommend the border is added since it gives it the completed and finished look. It works up quickly. When you are done, the dishcloth will look like this.

I saw this pattern called Pretty Pastels Dishcloth and decided to make it. I bought the book on eBay for $2 and was almost ready to go except I know the pattern contained an error (as noted on Ravelry).
However, I searched all over to find it and even sent messages to a couple of others who had made it and no one had the errata (what they call errors in the knitting/crochet world) information.
So I just decided to follow the pattern as written and see if I could figure it out myself. Well...I found the errors - there were more than one and thought I would share it in case others wanted to crochet it too. I hope this will help.
I found out AFTER I bought the book, that the pattern is now free and can be found HERE. The pattern in the book is slightly different than the free pattern but I think the free pattern is a little clearer and since it is free, I am referencing it here instead of the version in the book.
Section 1: Work just as stated in the pattern
Ch 3.
Row 1: (right side) Sc in 2nd ch from hook, sc in last ch, turn.
Row 2: Ch 1, working in back loops only, sc in first sc, 2 sc in next sc, turn. (3 sc)
Row 3: Ch 1, working through back loops only, 2 sc in first sc, sc in each sc to end, turn.
Row 4: Ch 1, working through back loops only, sc in each sc to last sc, 2 sc in last sc, turn.
Rows 5-18: Repeat Rows 3 and 4 seven times
Row 19: Repeat Row 3. (20 sc), Do Not break yarn, turn.
My Notes: At the end of section 1 - it should look like this. The book says turn 90 degrees and work on straight edge - well as you can see, there are 2 straight edges - it doesn't say to turn 90 degrees clockwise or counter clockwise so how do you know? You don't but the using the photo below, I indicated the direction on how you should continue to Section 2.

Section 2: Work just as stated in the pattern
Row 1: (right side) Ch 1, working along straight edge at right angles to last row, work 20 sc evenly across, turn.
Row 2: Ch 1, sc2tog over first 2 sts, working through back loops only, sc in each sc to end, turn.
Row 3: Ch 1, working through back loops only, sc in each sc to last 2 sc, sc2tog, turn.
Rows 4-19: Repeat Rows 2 and 3 eight times
Row 20: Ch 1, sc2tog, Do Not break yarn,
My Notes: At the end of section 2 - it should look like the photo below. The pattern says do not turn but you HAVE to turn to continue. Again, the books says turn 90 degrees but you don't know if you should work down the straight side or the slanted side, Logically it seems you should work down the straight side, as before. I indicated the direction on how you should continue to Section 3.

Section 3: Here is where the errors start - Row 1 is okay as written
Row 1: (right side) Ch 1, working along straight edge at right angles to last row, work 20 sc evenly across, turn.
Row 2: Ch 1, working through back loops only, sc in each sc to last 2 stitches, then sc2tog over last 2 sts, ch 1 turn.
Row 3: Working through back loops only, sc in each sc to last 2 sc, ch 1, turn.
Rows 4-19: Repeat Rows 2 and 3 eight times.
Row 20: Ch 1, sc2tog, Do Not break yarn,
My Notes: To ensure the decreases are in the properly place, you decrease at the end (not the beginning of row 2 - so don't just repeat Section 2 as the pattern states, it is wrong. Your cloth should now look like the photo below. I indicated the direction on how you should continue to Section 4.

Section 4: This section doesn't have an error per se, but it isn't clear as written.
Row 1: (right side) Ch 1, working along straight edge at right angles to last row, work 20 sc evenly across, sc in last sc of Row 19 of First Section, sc in next st of Row 19
Row 2: Ch 1, working through back loops only, sc in each sc to last 2 sc, sc2tog, turn.
Row 3: Ch 1, sc2tog over first 2 sc, working through back loops only, sc in each sc to end, sc in each of next 2 sc of Row 19 of First Section, turn.
Rows 4-19: Repeat Rows 2 and 3 eight times, Do Not break yarn, Do not turn.
My Notes: The part that I think is confusing in the book is that it implies you continue to work in the first 2 stitches of row 19 of Section 1, The free pattern is a little clearer in that what you are doing is actually moving up the rows on section 1 and joining section 4 to section 1 as you go - you just keep moving up. When you are done with Section 4, your dishcloth should look like the photo below. Now continue to the border (if desired).

Border: This section doesn't have an error, work as written.
Rnd 2: Ch 1, *3 sc in next sc, sl st in next sc; rep from * around, join with sl st in first sc.
Fasten off.Weave in all ends.
My Notes: I recommend the border is added since it gives it the completed and finished look. It works up quickly. When you are done, the dishcloth will look like this.

Friday, May 31, 2019

Wednesday, April 17, 2019
W.I.P. Wednesday - Brilla Beanie
Well..that hat was pretty quick and simple. I am happy with the results.
The model on the pattern shows the hat to be a bit more floppy/slouchy than my hat was...perhaps my gauge was a little tight or perhaps my head is a little big (more likely the big head thing - haha)
Anyway...I only used about 1/2 ball of yarn so I have enough most likely to make a 2nd hat, which I might do, down the road. I may use it for something else, if I can find a pattern to use such a small amount. (I was hoping the hat would take up most of the ball).
Anyway....here is the finished hat - I'm pretty happy with it - love the sparkles!!

The model on the pattern shows the hat to be a bit more floppy/slouchy than my hat was...perhaps my gauge was a little tight or perhaps my head is a little big (more likely the big head thing - haha)
Anyway...I only used about 1/2 ball of yarn so I have enough most likely to make a 2nd hat, which I might do, down the road. I may use it for something else, if I can find a pattern to use such a small amount. (I was hoping the hat would take up most of the ball).
Anyway....here is the finished hat - I'm pretty happy with it - love the sparkles!!

Wednesday, April 10, 2019
W.I.P. Wednesday
I have posted before about how I won a prize package from Red Heart a little while back.
One of the yarns included was Red Heart Luce. It is so beautiful, photos just don't do justice. It is a mohair blend with sequins.
The color I received was "Verde" - is a lovely deep green. It almost looks grey but when you get a good look at it in the light, you can see the true color.

I love it - it may have been my favorite yarn in the prize package because it isn't something I normally would have bought.
1) You can't buy it in stores, it is only available at RedHeart.com
2) I haven't really worked with mohair before and
3) It is a little pricey (worth it though)
I have been trying to decide what to make with it and I only wanted to use this one ball of yarn...luckily, Red Heart recently released this great Brilla Beanie Pattern and it only required one ball....PERFECT, I thought!
So...I have started it - it is knitted flat (much easier for me, although I have gotten better at knitting on circular and double pointed needles, I still prefer straight needles.
So far...so good.

One of the yarns included was Red Heart Luce. It is so beautiful, photos just don't do justice. It is a mohair blend with sequins.
The color I received was "Verde" - is a lovely deep green. It almost looks grey but when you get a good look at it in the light, you can see the true color.

I love it - it may have been my favorite yarn in the prize package because it isn't something I normally would have bought.
1) You can't buy it in stores, it is only available at RedHeart.com
2) I haven't really worked with mohair before and
3) It is a little pricey (worth it though)
I have been trying to decide what to make with it and I only wanted to use this one ball of yarn...luckily, Red Heart recently released this great Brilla Beanie Pattern and it only required one ball....PERFECT, I thought!
So...I have started it - it is knitted flat (much easier for me, although I have gotten better at knitting on circular and double pointed needles, I still prefer straight needles.
So far...so good.

Saturday, March 30, 2019
Viva Las Vegas - Day 3
Ladies
and Gentleman - this is about the 4th attempt to right this post. I kid
you not! For some reason, when I am almost done and I start typing the
last paragraph, Blogger erases everything I typed (kind of like a backspace)
and despite the fact that I had been saving periodically, NONE of it was saved
- so frustrating and aggravating.




We
shopped in stores that were WAY out of our price range…Tiffany’s, Coach, Prada,
Gucci, you get the idea…hey, girls can dream, right?
After a big of shopping, we went to The Palm Restaurant. Since we knew this would be our last trip together to Las Vegas, we decided to splurge a little…but not too much. We chose lunch because it was a little cheaper, fit our schedule better and wouldn’t be too crowded.


Once
back, we decided to visit the Flamingo Habitat.


This time, I decided to write it
all up in MS Word so if it disappears, yet again! At least I will have it saved
somewhere else so I can just copy and paste.
Our 3rd
vacation day in Las Vegas was actually our 2nd actual day there,
since Mother Nature decided to sprinkle some snow on the ground and delay our
trip a little.
Since we
have been to Las Vegas a few times and almost consider it a
home-away-from-home, we have a few traditions, one of which is to eat breakfast
in Paris on our first full day there.

As you
can imagine, Paris has a lot of amazing restaurants, but we always like to go
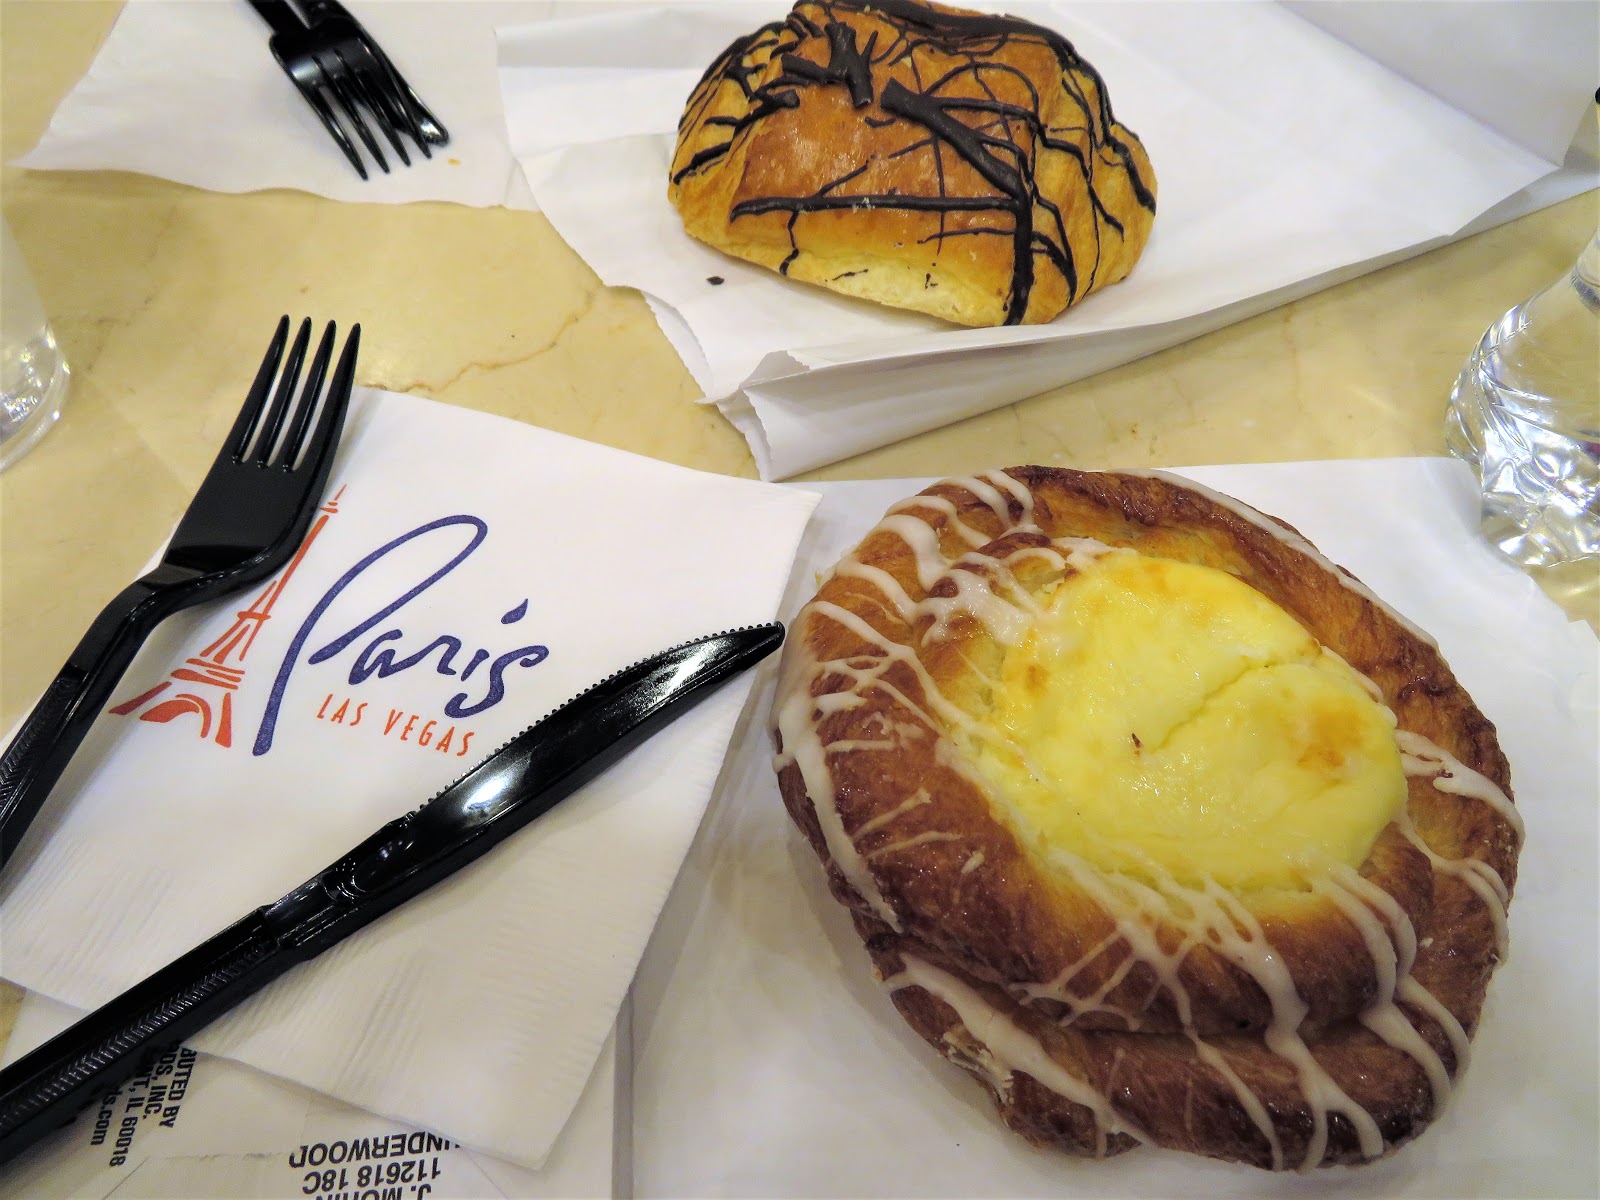
to a small, less crowded pastry shop, Café Bell Madeline. We got a chocolate croissant and a cheese Danish,
split and shared them. What a delicious way to start the day.

The last
time we were in Paris, my friend had a lot of luck with the nickel machines, so
we decided to play in the casino for a while.
However, neither of us ended up having much luck (and sadly, we couldn’t
find any nickel machines anymore).

After a while,
we decided to head over to the Bellagio.
We think the Bellagio is one of the most beautiful in Las Vegas. Of course, no trip is complete without
watching the synchronized fountains.


Once
inside, we must always visit the beautiful lobby, which has a ceiling full of
Dale Chihuly blown glass art. It is so
incredible to see this in person. Pictures just do not do it justice.

We then headed
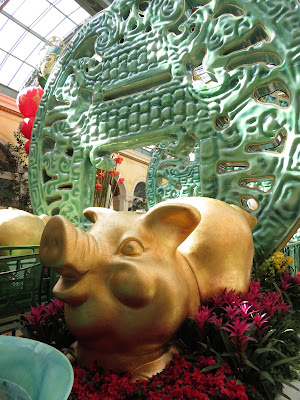
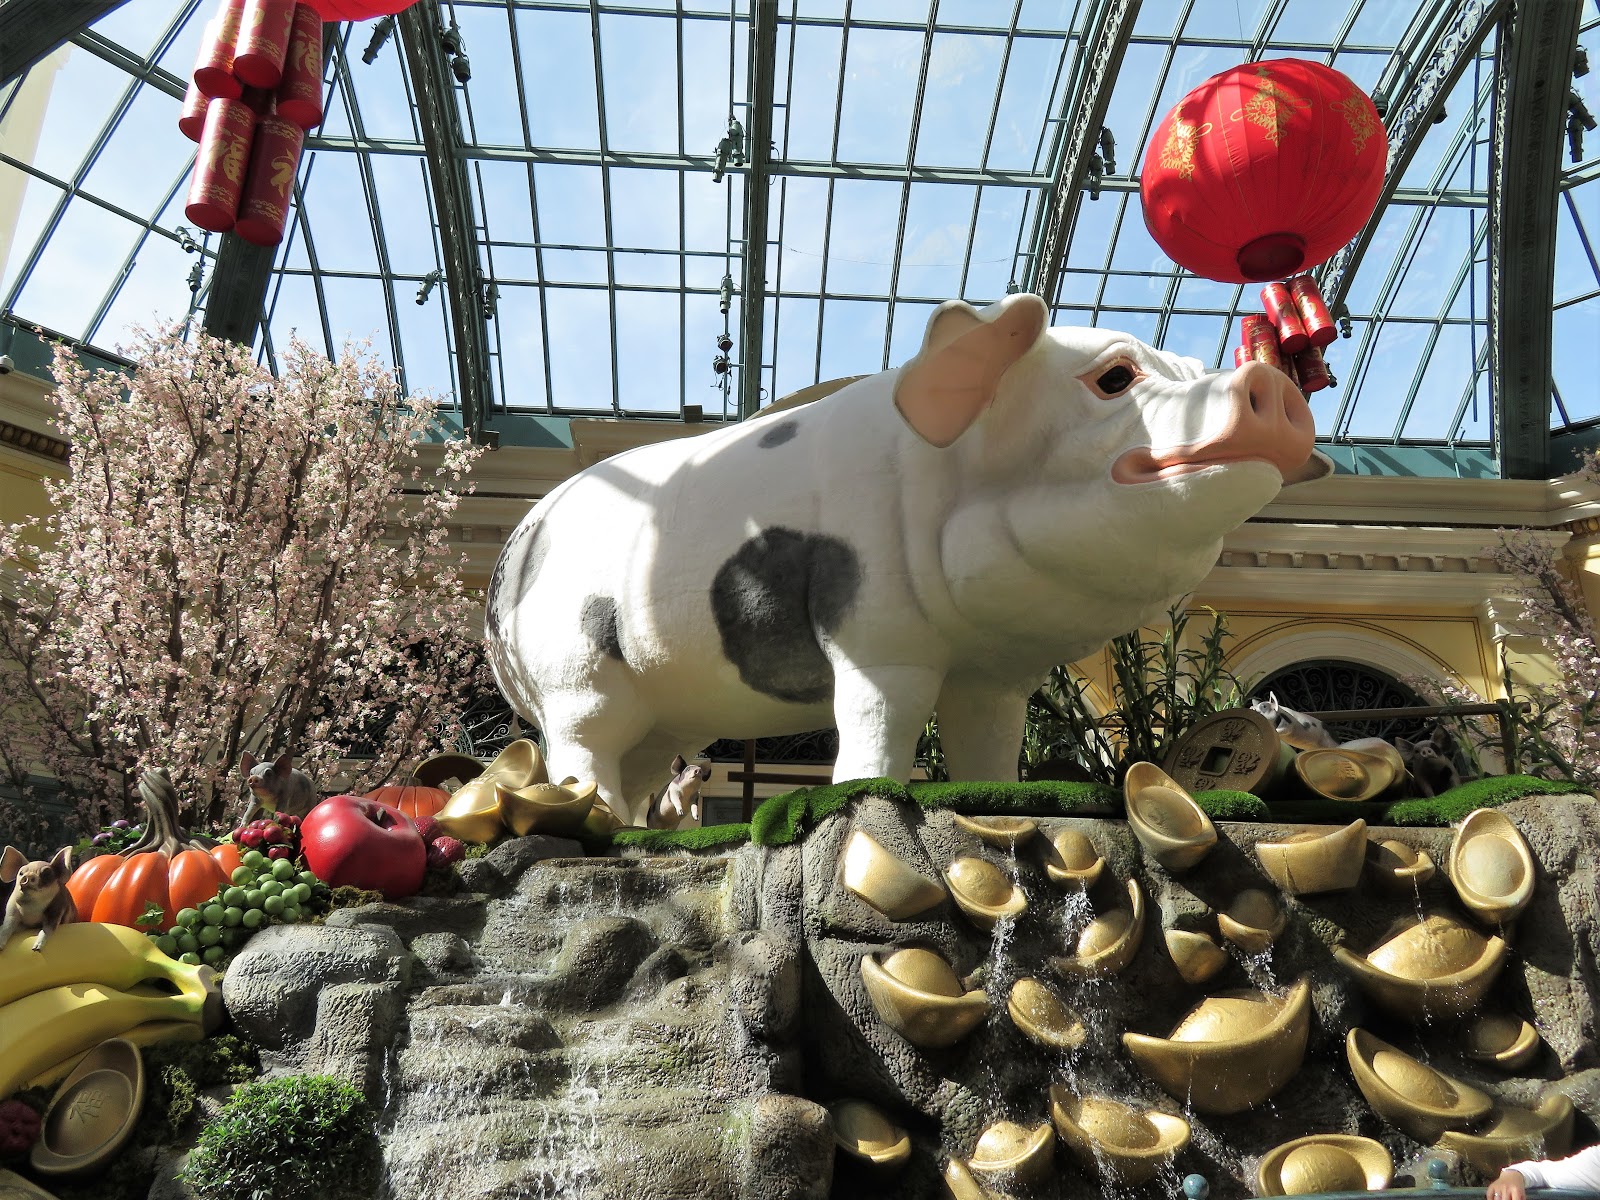
to the conservatory, a must see! Each season, it is decorated with a new
theme. This visit, it was decorated for
Chinese New Year – the Year of the Pig. I can only imagine how much time and
planning goes into this.




Caesar’s Palace
is connected to the Bellagio by a bridge, so we walked over to Caesar’s next. I
always like to get my photo take with The David. Caesar’s Palace is beautiful and HUGE. Sometimes I think I would like to stay here
for one night, but it is so big and the Flamingo is just the right size for me!


After a big of shopping, we went to The Palm Restaurant. Since we knew this would be our last trip together to Las Vegas, we decided to splurge a little…but not too much. We chose lunch because it was a little cheaper, fit our schedule better and wouldn’t be too crowded.
We asked
to be seated in booth #88 and from the painting on the wall, I am sure you can
understand why.


My friend
got the Caesar salad, Lobster Bisque and a steak. I got the Soup de Jour, which was Asparagus
& Spinach Soup and a steak. We chose
steak since they are kind of known for that.
I chose the soup de jour since I have never had it before. We both agreed that the Lobster Bisque was
the best we had ever had…EVER! We also loved the Asparagus and Spinach soup and
if I had only ordered that, it would have been enough – it was that good. We both enjoyed the steak but agreed it wasn’t
the best we had ever had (a little tough).


We walked
off our lunch by walking around Caesar’s and around the strip a little
more. We then decided to head back to
the Flamingo to rest a little bit before the show that evening.

Also, just so you know...if you want to get the best view of the Flamingo Hotel with the Donny & Marie wrap, the best place to take the photo is from the front steps of Caesar's Palace.


Bugsy’s
Memorial can also be found here.


We played
the slots a bit (and I did fairly well) and we went to the room to change and
get ready for the Donny & Marie show. I decided to wear a Peacock print shirt to show Donny that I knew the "Masked Singer" was him (remember, this was a week before it was revealed to be him). No meet and greet but we did meet up with some new friends that we met
at the show the night before.

We had
great seats again – same as the night before but on the other side of the
catwalk and next to Marie’s “favorite fan” as she jokingly discusses in her
show.

The highlight
of the show and the entire trip actually – was while singing “It’s a Beautiful
Life”, Marie noticed my friend singing along and she came up to her and gave
her the microphone!!! So she got to sing with Donny & Marie!! That was SO EXCITING!! I had never Marie do
that before and she picked my friend out of everyone there! It was AMAZING!!
Also, we found out that Sanjeev Bhaskar was at the show that night too - pretty cool!!

Also, we found out that Sanjeev Bhaskar was at the show that night too - pretty cool!!

We decided
to check out “The Linq” which is a new area since we were last in Las
Vegas. It is a promenade full of shops, eateries
and entertainment, including the high roller (which we chose not to ride due to
the cost and wait time). We at a hot dog
(since we were just a tiny bit hungry) and we shopped in several stores. Before we knew it, it was about 2 am and we
headed back in and eventually up to our rooms for some much-needed rest.


Subscribe to:
Posts (Atom)